
This guide is essential for event managers who need to create payment links for custom requests in an efficient manner. It provides a step-by-step process that makes it easy to create a specific link for private events or special requests, ensuring that all customer needs are met.
Tip: In the situation of receiving a personalized request (i.e. a private event where they want to close part of the venue, a client requesting several bottles for their VIP table, etc.), you will be able to create an exclusive payment link to cover that request, in a timely manner.
1. Click "Requests".

2. Click "Create request".

3. Fill in the required information: name, surname, email and phone number.

4. Select the source through which you have received the special request.

5. Click “Next” to continue.

Tip: A continuación, indicarás si se trata de un servicio predeterminado, o bien customizado, y rellenarás los campos indicados:
6. By type of ticket:

7. Select the date.

8. Select the event.

9. Select type of ticket.**

10. Indicates the number of guests attending.

11. Indicates the status of the request management.
In addition, you can add comments to the request, so that the person in access control knows what it is about.

12. Click “Custom” for a custom service.

13. Insert the date and select the business.

14. Indicate the type of service requested. You can also enter the nnumber of guests, the status of the request and add comments to the request.

15. Click "Next".

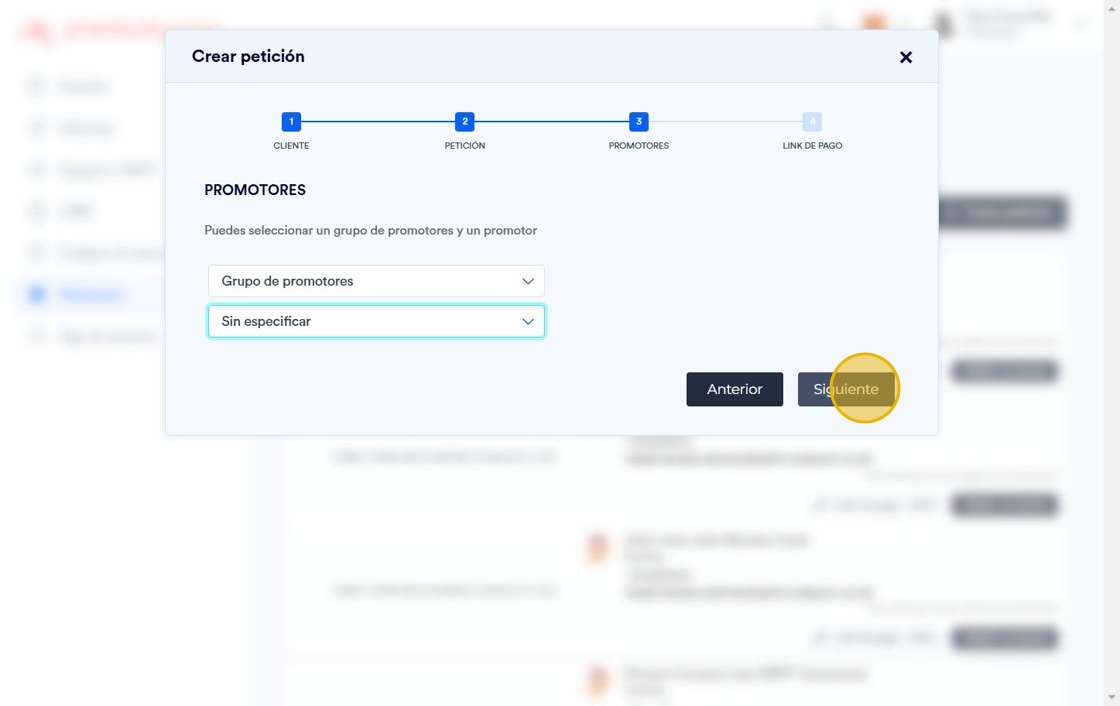
16. In the next tab, you can indicate whether the service is provided by a group of promoters or by a specific promoter.

17. Click "Next".
18. Click to generate a payment link.

19. Add the cost of the personalized service.

20. Click "Add".
