
This guide provides a step-by-step process for adding event bookings to the PremiumGuest system, ensuring that users can effectively manage ticket sales. By following these instructions, event organizers can customize pricing, availability and sales details, allowing them to meet specific audience needs.
1. Click "Events".

2. Click on the event you want to add reserved.

3. Click "Add ticket".
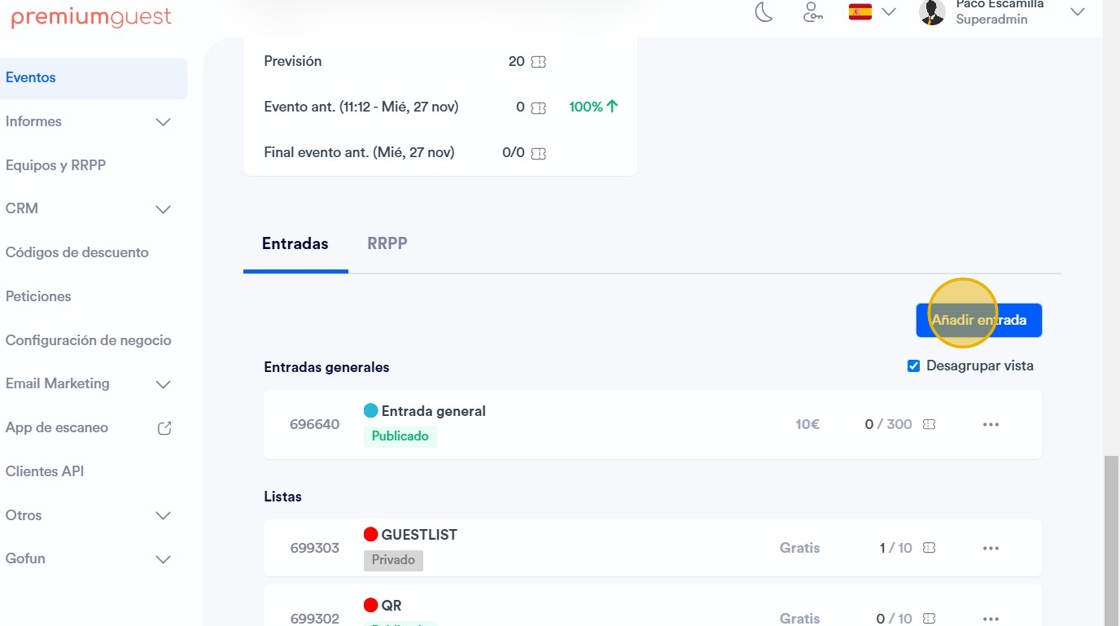
4. Select “Reserved” in entry type.

5. Type the price of the reserved.

6. If you want to add price crossed out, add it here.

7. If you wish, you can add an advance price for reservations.

8. Indicates the quantity for sale.

9. Select the number of people per reservation.

10. Here you can add the price per extra person.

11. Add the maximum number of extra people.

12. Indicates the per purchase limit.

13. Indicates the order on the sales web site.

14. Indicates whether you want it to be visible or not.

15. Select from the drop-down menu the state you want it to be in.

16. Select when the start of sales will occur (when publishing the event, personalized or at the end of the sale of another ticket) and the closing of sales (at the beginning of the event, at the end of the event or custom).

17. Select the ticket delivery format.

18. In addition to the category on the interactive map.

19. You can choose whether the attendee selects the location on the sales website or not.

20. If you select by schedule, enter the start time and end time.

21. Here you can write the title of the post and the description.

22. Here you can write the ticket conditions shown in the email the customer receives with the QR tickets and personalize the payment button in different languages.

23. Incluye toda la información relacionada con las comisiones.

24. Click "Save".
