
This guide provides clear instructions on how to effectively close event ticket sales, either through scheduled closings or manual adjustments. It offers multiple options for scheduling, allowing flexibility based on the needs of the event. By following these steps, users can ensure effective ticketing management and avoid potential overbooking issues.
Tip: There are several ways to close ticket sales:
Scheduled time
1. Click "Events".

2. Click “Create event”.

3. Click “Date and time”.

4. You can program the time you want to close the online ticket sales. You can select:
-At the start of the event
-At the end of the event
-Customized

5. If you click on “Customized”, you need to choose the day and time you want the sale to close.

General manual closing
6. Click "Events".

7. Select the event you want to modify.

8. Click "Edit event".
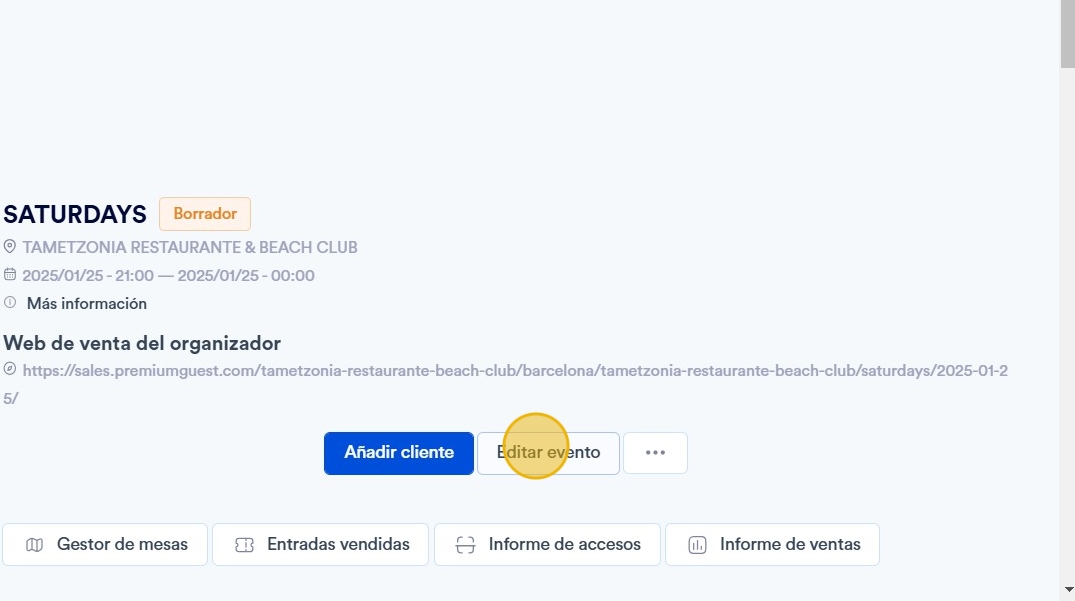
9. In the drop-down menu “Visible on the sales website”, choose the option “Closed”.

Manual closing by input type
10. If a particular type of ticket is sold out at the box office, you can close the online sale manually. Go to the event and scroll down to the “Services” section.

11. Click "Add ticket".

12. In the “Status” drop-down menu, choose the “Sale completed” option.
