This guide provides a step-by-step process for managing booking labels within a CRM system, making it essential for users who want to efficiently organize and customize their booking processes. By learning how to edit tag categories, change colors and search for specific tags, users can improve their workflow and enhance customer interaction.
1. Click on the face on the left to open “CRM ”.

2. Click "Booking tags".

3. Click "Bookings".
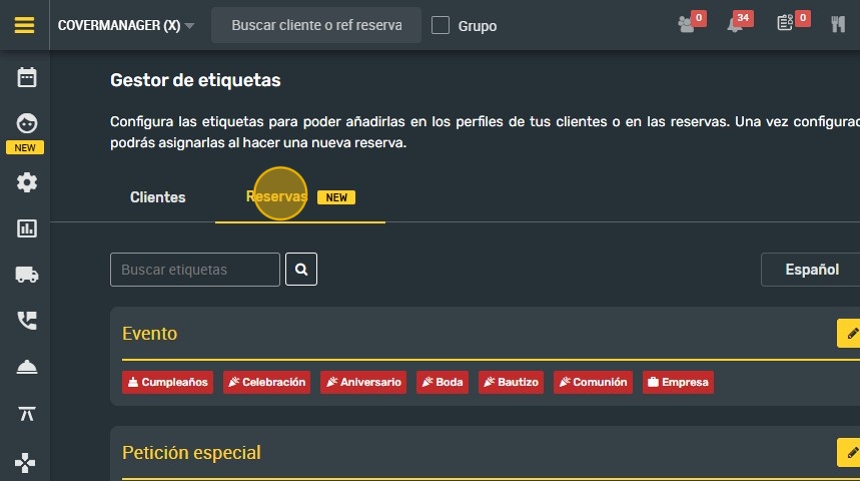
4. Click on the “pencil” icon to edit.

Alert: The Category Name field is not editable and is displayed in the language selected on the main page of the booking tag manager.
5. Click here to change the color of the tags. When you change the category color, all tags belonging to this category will be updated with the new color.

6. Click “SAVE CHANGES” when you are done.

7. Here you can change the language of the tag. By default it shows the language selected for the restaurant.

8. Here you can search for the tag of your choice.

Tip: This would be an example of a booking tag
9. Click "New Booking".

10. In this dropdown you can select the reservation label you wish to apply.

11. Click on “RESERVE”.

12. This will display the booking tag.

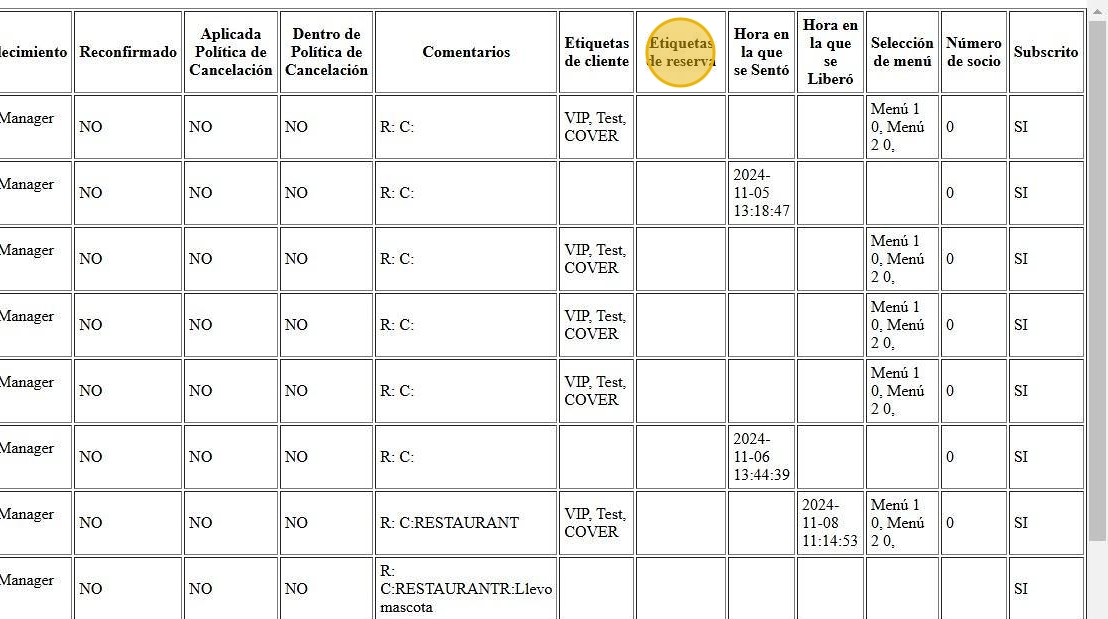
Tip: These tags will appear in the booking tracking reports! You can see them by clicking on the expand check box with more data.
13. In reports, these tags will also appear in booking tracking. Click on the “Expand with more data” checkbox.

14. Click “VIEW TABLE”.

15. The booking labels will appear here.