
This guide provides a step-by-step process for customizing vouchers in an online store, including adding products, selecting languages and adjusting background images, ensuring compliance with format and size requirements. By following it, users can create a unique experience that increases customer engagement and satisfaction, reflecting their brand identity and making key adjustments to improve customer interaction.
1. Click on the drop-down menu of your user and go to the ¨settings¨ section.

2. Click “Settings”

3. Go to the “Online Shop” settings section.

4. Within it, click on ¨web experience¨ to customize your voucher.
A voucher is a voucher or document that validates a transaction, payment or reservation. It can also be a voucher that allows you to redeem a service or product.

5. To customize the voucher click “yes”.

6. You can add additional products if you want and even select the language you see fit.

7. Click “Select language:”

8. To customize the background image, select the file and press ¨upload¨.

9. Please note these characteristics: the format must be JPG, cannot exceed 2MB and the recommended size is 1004x638.
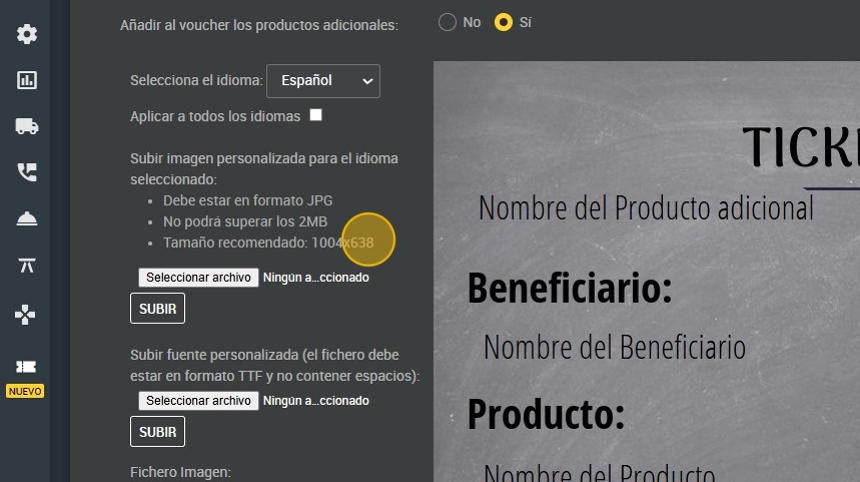
10. This would be the preview that the customer would have.
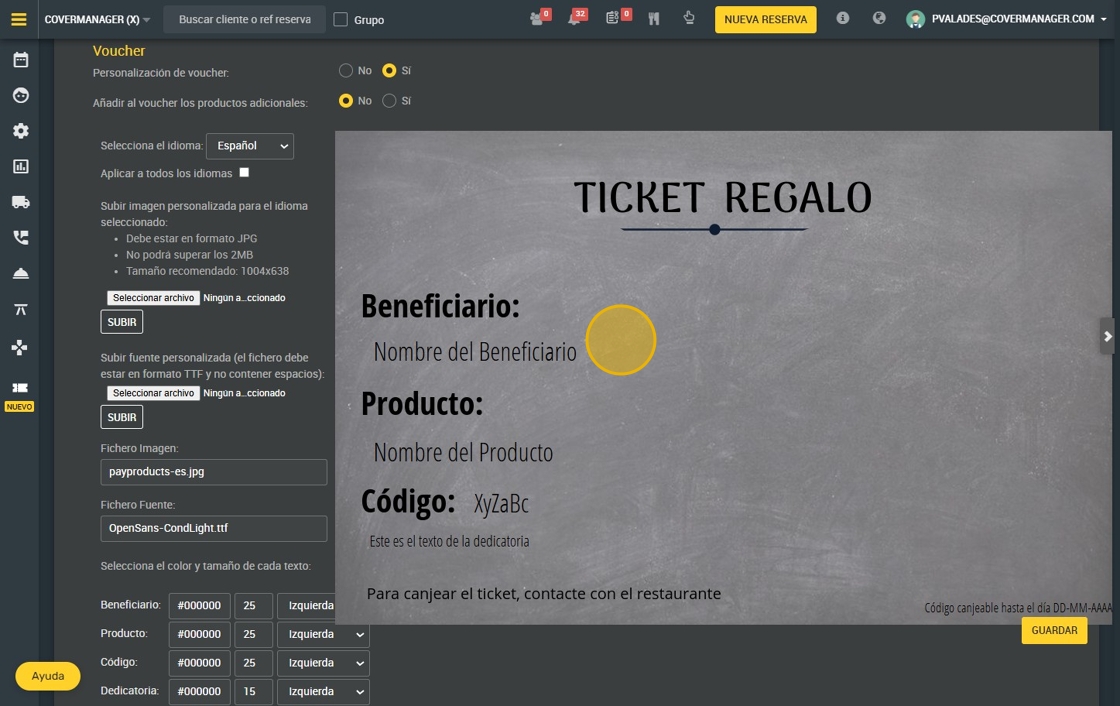
11. You can change whatever you want in these settings, for example the color of the section you want by clicking here.

12. When changing the numbers, the font size will change.

13. Click "save".
