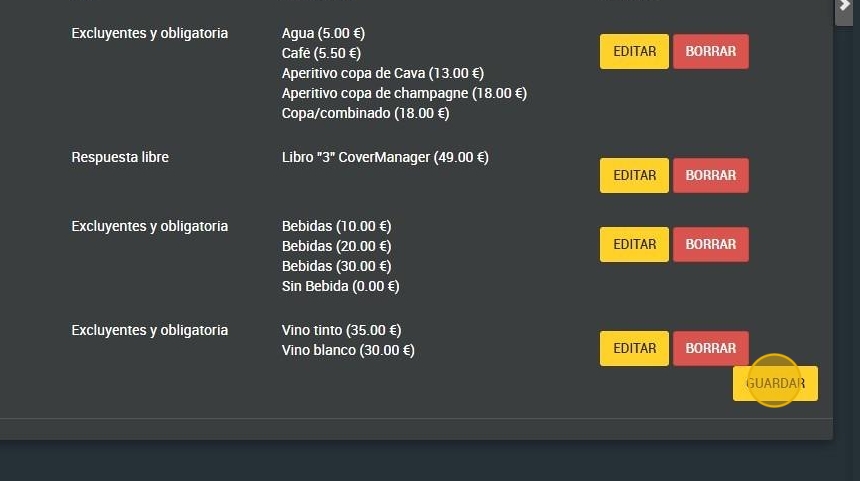
This guide provides a step-by-step process for managing categories and products in an online store, making it essential for anyone who wants to efficiently set up and customize their restaurant's offerings. It covers everything from adding new products to editing or deleting existing ones, ensuring a streamlined experience for users.
1. Click on the “user” icon in the upper right corner and click on “Settings”.

2. Click "Online Store".
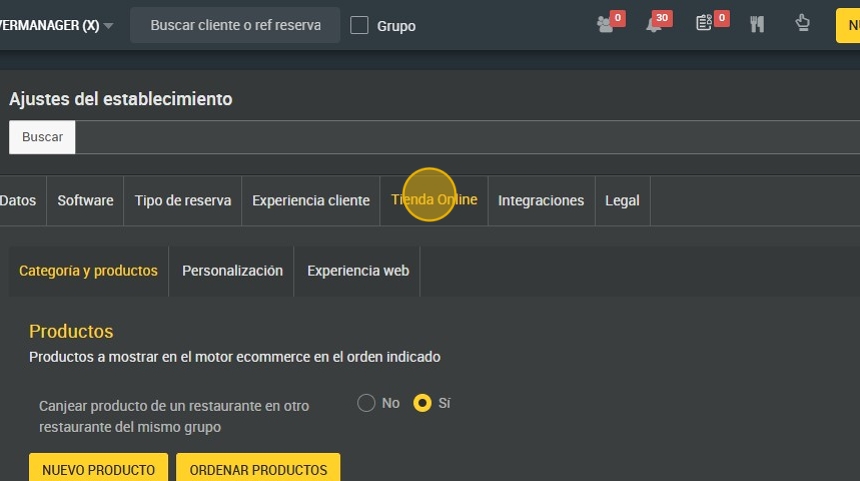
3. Click "Category and products".

4. Click “yes” to redeem products from one restaurant at another restaurant in the same group.

Tip: To add a new product:
5. Click "NEW PRODUCT".

6. Write a name.

7. Select the type.

8. Select the language.

9. You can choose to set the price per person or per booking.

10. Write the price.

11. This is where the tax is configured.
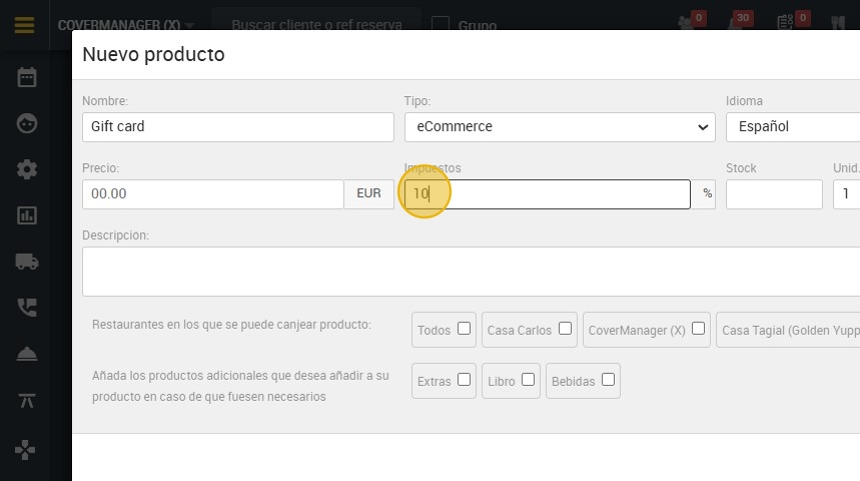
12. Here you set the stock. You can define a maximum number; if you do not enter anything, there will be no limit.

13. Enter the minimum unit per purchase.

14. Enter the maximum unit per purchase.

15. You can add a description if you wish.

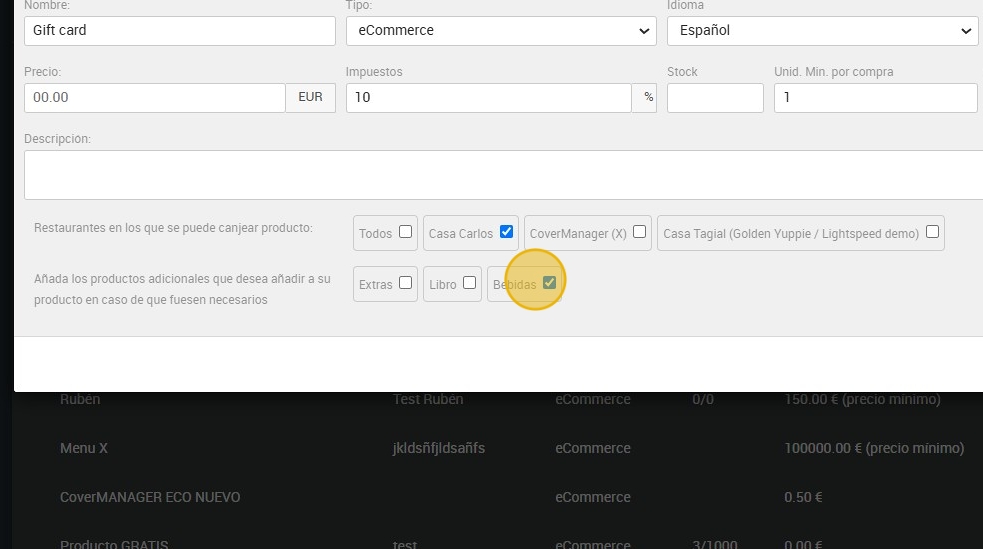
16. Select the restaurants where the product can be redeemed.

17. Add any additional products you wish to add to your product if needed.
18. Click "ADD".

19. Click on “Sort products” to establish an order.

20. Click and drag each product to set the order.

21. Click "SAVE".

Tip: To edit a product:
22. Click "Edit".

23. Here you can edit anything you want.

24. Click “UPDATE” when finished.

Tip: To delete a product:
25. Click “Delete”.

26. Click "YES".

Tip: To add an additional product:
27. Click “New additional product”.

28. Enter a name of the additional product group.

29. Write a description if you wish.

30. Choose the type of additional product group.

31. Enter the name of the additional product and its price.
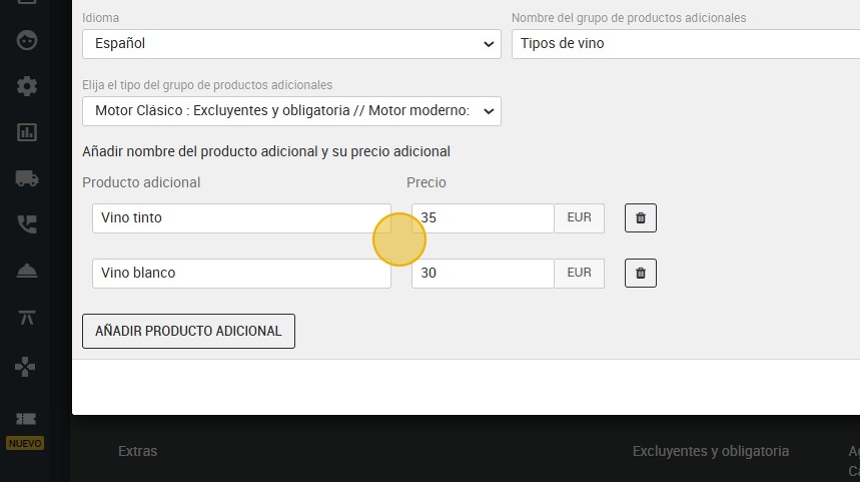
32. Click “CREATE”.

33. Click “Edit” or “Delete” to edit or delete this product.

34. Click "SAVE".