
This guide provides essential steps for restaurant owners to accurately configure their business information in a management system. By following these instructions, users can ensure that their restaurant's name, contact details and operational settings are correctly configured, which is vital for effective customer communication and reservation management.
1. Click on the “user” icon in the upper right corner and click on “Settings”.

2. Click "Data".

3. Click "General".

4. Click on “Trade name” to enter the name of the restaurant.

5. Here you will enter the address of the restaurant.

6. Click “City” to enter the location of the restaurant.

7. Click “URL” to type the url of the restaurant's website.

Tip: The phone number and email will be used by customers to contact the restaurant.
8. Click “Telephone” to enter the contact phone number.
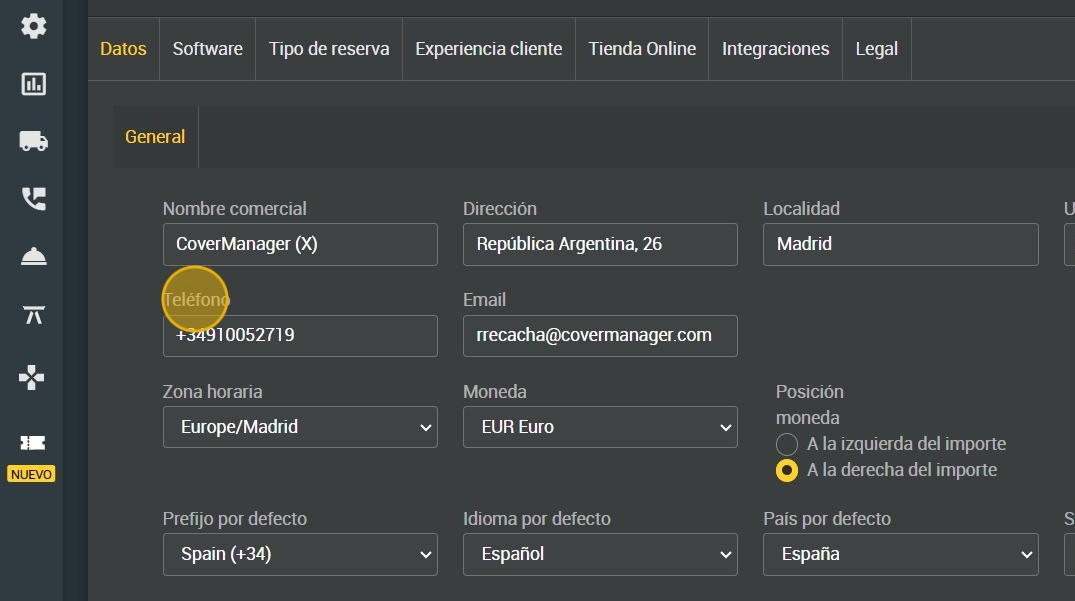
9. Click “Email” to enter your contact email. Here you will receive all notifications of confirmed, pending and cancelled reservations.

10. Select the time zone of your restaurant. This is important to avoid confusion when making reservations.
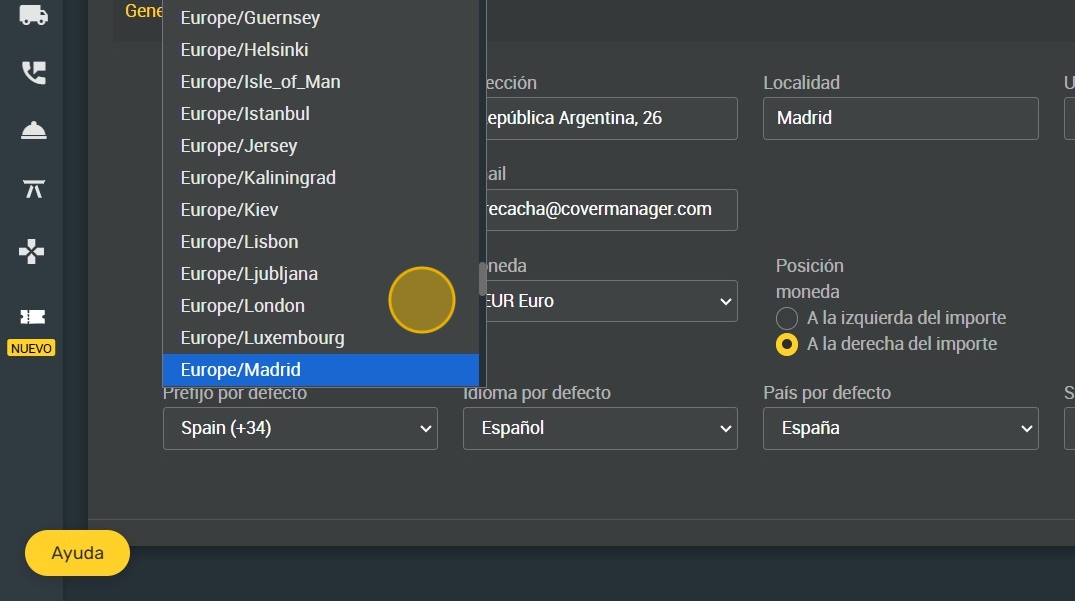
11. Select the currency your restaurant uses.

12. Select the currency position.

13. The default prefix is set here.

14. Click “Default language”. Customers will receive the manual booking confirmation with the default language.

15. Select the default country according to the country where the restaurant is located.

16. Select the numbering system (international or British).

17. Click "SAVE".
