
What is it?
It is an email or SMS notification sent to contact customers before their reservation to confirm their attendance. Its purpose is to filter out who will actually show up, allowing the business to better organize its resources and avoid no-shows.
The objective of this tool is to save you manual management time. Instead of calling guests one by one, the system asks on your behalf. If the customer confirms via the email link, their status in your schedule will automatically change to Reconfirmed, giving you peace of mind that the spot is secured.
How does the system decide what to send?
The system works in two phases: first, it identifies who needs to be notified (Queued), and then it performs the actual sending. The most important thing to understand is that both an SMS and an EMAIL will be sent to all confirmed reservations.
This guide is essential for restaurant managers looking to improve the customer experience through effective reservation management. By understanding the reconfirmation process, managers can ensure customers are reminded of their bookings, thereby reducing no-shows and optimizing table turnover.
This guide is essential for restaurant managers who want to improve the customer experience through effective booking management. By understanding the reconfirmation process, managers can ensure that customers are reminded of their bookings, thereby reducing no-shows and optimizing table turnover.
1. Click on the configuration icon.

2. Click "Bookings".
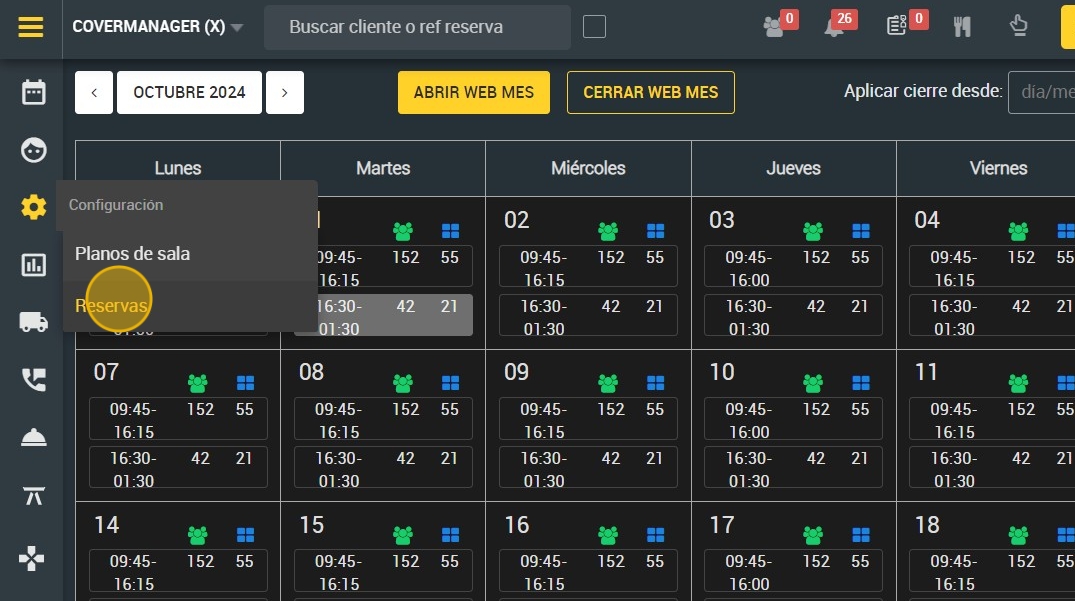
3. Click on the day and time you wish to apply the settings.

4. Click "3. Reconfirmation of bookings".

Tip: A booking reconfirmation message is a reminder sent to a customer prior to their visit to a restaurant to ensure that they still wish to hold their booking.
Tip: What is it for?
Imagine that as a customer, you booked two months ago at the restaurant. This reconfirmation helps to make the booking data such as the exact time easily accessible.
5. These are the different options available to reconfirm the booking.

6. You can apply this setting to Lunch or Lunch and Dinner.

7. You can also choose between different time variables:
A. The same day (today).
B.¨Every Wednesday¨: here you can select one or more days of the week where you want to apply the settings. For example; Tuesday, Thursday and Friday.
C. "Every day”.
D. Between two dates: for example the configuration is from November 22nd to December 22nd.
E. Specific days.

8. Click "APPLY"
