
This guide is essential for those who use CoverManager and want to optimize the management of their bookings by adding personalized tags to customers. By following these steps, you will be able to better organize your database, making it easier to identify and classify customers according to their needs or preferences. This not only improves the customer experience, but also streamlines the booking and follow-up process.
1. Click on the calendar to the left to open bookings.

2. Click "Day"

3. Click on the customer to which you want to add a tag.

4. Click on "EDIT BOOKING".

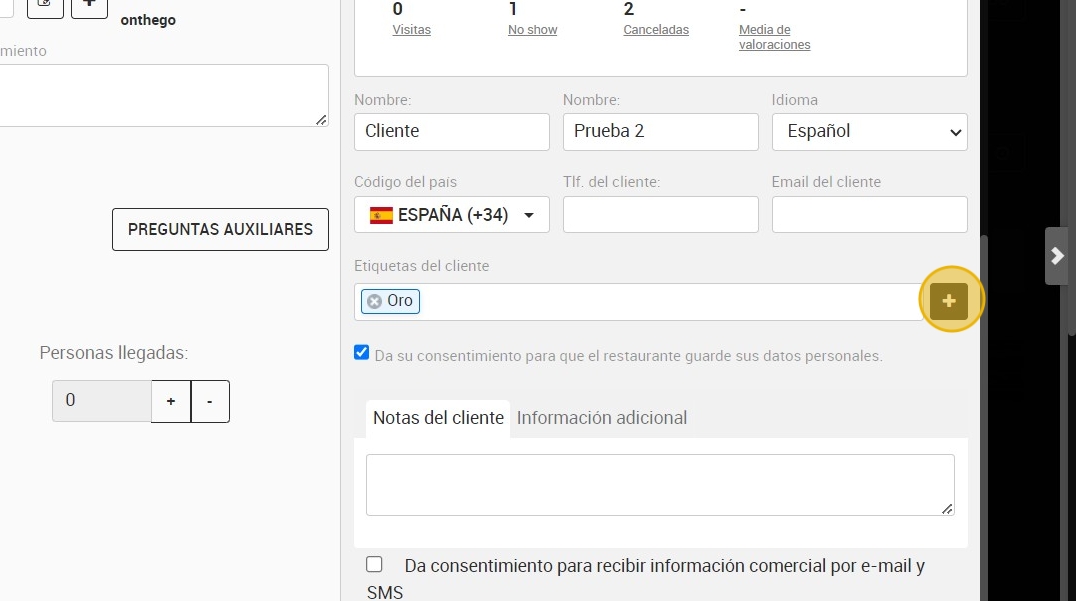
5. Click on "customer tags ” and you can select the one you want to add to the customer.

6. Click on the "+ ” to add a new tag that is not in the list.
7. Click to select a category.

8. Click to write a name to the tag.

9. Click on add to add the new tag.

10. Click on "VALIDATE".
