This guide provides a simple process for making prepaid bookings through CoverManager, ensuring a seamless experience for users and customers. By following these steps, users can efficiently manage bookings and confirm payments, streamlining operations. It is ideal for those who want to improve customer satisfaction with clear booking statuses. In short, this resource simplifies the booking process, making it accessible and effective.
1. Click on the calendar on the left to open bookings.

2. Click "Day".

3. Click "NEW BOOKING".

4. Complete the customer data.

5. Select booking type “Ticket”.
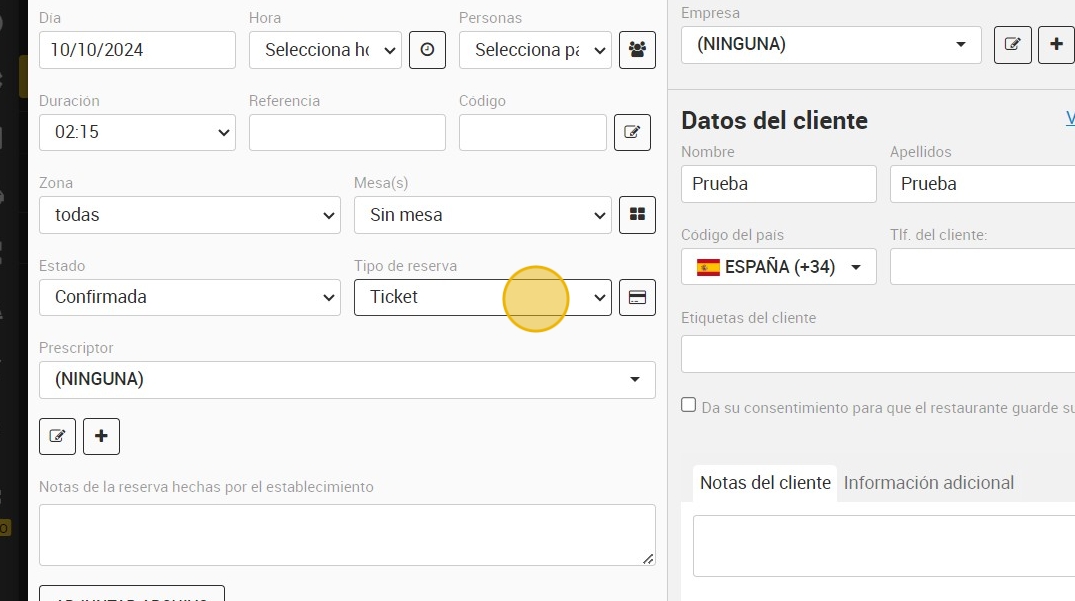
6. Click on the card icon that appears in the type of reservation.

7. Select the desired product.

8. Select the number of people.

9. After verifying that price and quantity are correct, click on add product.

10. Click on “BOOK AND REQUEST CARD”.

11. Once the customer has made the payment, the reservation will change from orange (pending confirmation) to green (confirmed).

Tip: If you want to create, edit or delete a product:
Tip: Bookings made with the Ticket type are associated with a payment by the customer that is made at the time of booking. This payment can be partial or total for the amount of the bill at the restaurant.
12. Click on the “user” icon in the upper right corner and click on “Settings”.

13. Click "Booking type".

14. Click "Prepaid products". All products will appear here.

Tip: If you want to create a new product:
15. Click "NEW PRODUCT".

16. Write the name of the product.

17. Select the type.

18. Select the language.

19. You can choose between price per person or per booking.
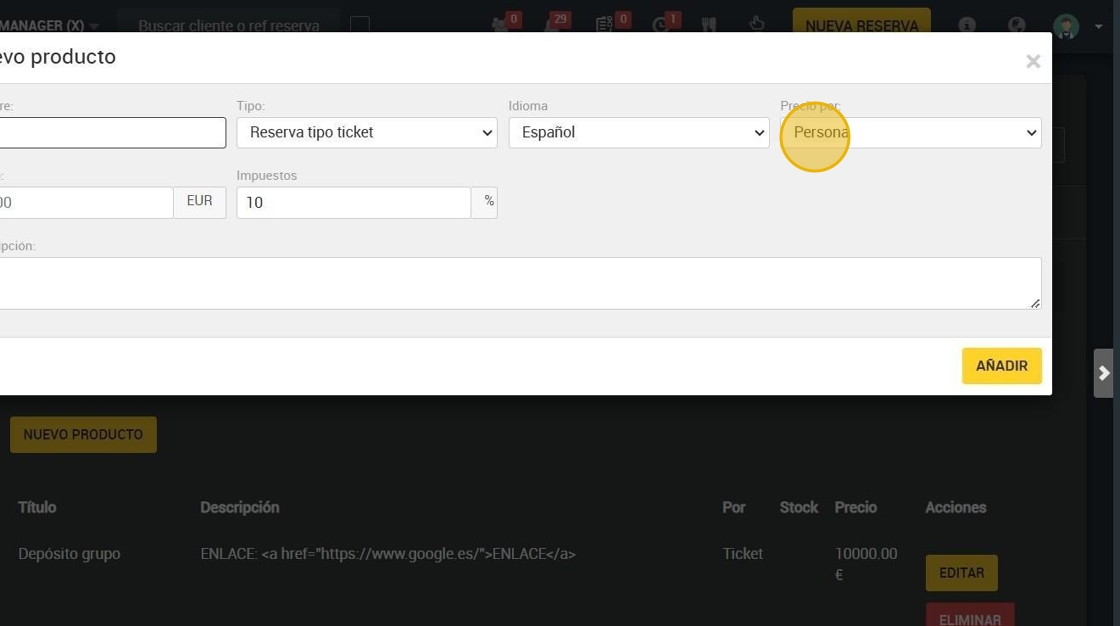
20. Write the price.

21. Specifies the tax to be applied to the product.

22. You can write a description if you wish.

23. Finally, click on “add”.

Tip: If you want to edit a product:
24. Click on “Edit”, located to the right of the product.

25. Once you have edited it, click on “UPDATE”.

Tip: If you want to delete a product:
Alert: NOT ALL PRODUCTS CAN BE DELETED, IF A PRODUCT HAS BEEN APPLIED IN “5. RESERVATION CONDITIONS” AT SOME POINT, IT WILL NOT LET YOU DELETE IT WHILE IT IS IN USE.
26. Click on “REMOVE”.

27. Click "YES".

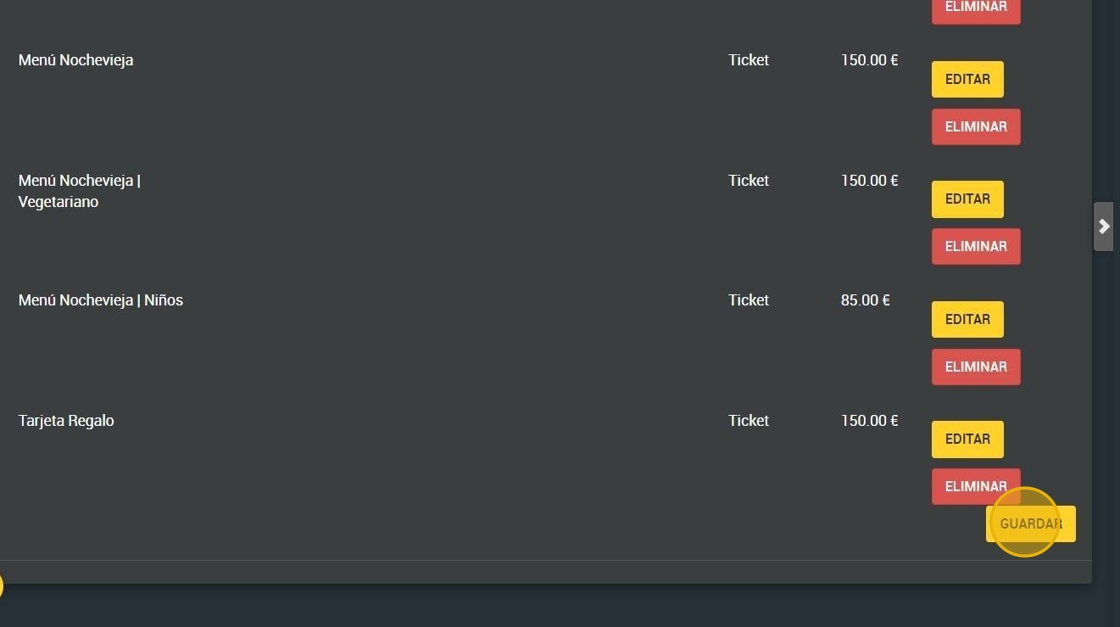
28. Finally, click on “SAVE”.